


Technology menu
OneDrive for QPS Organization
How to log in to and use OneDrive Sync client
1. To log in to Office 365, visit https://portal.office.com and enter your district email and password.
NOTE: Logon names vary depending on the user:
for staff: username@qps.org
for students: studentid@my.qps.org
2. Click the ‘waffle’ button at the top left of the page and select ‘OneDrive’.
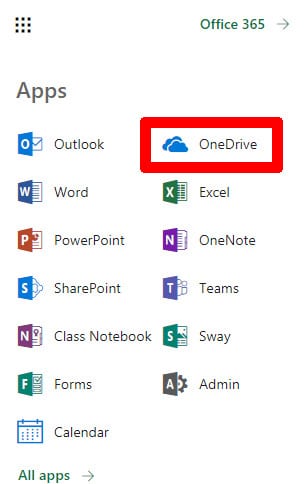
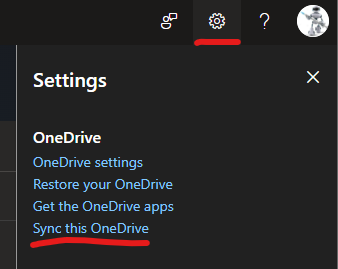
3. From this page you can create spreadsheets, documents, presentations, etc. To activate the synchronization of your OneDrive files to your computer, click the gear icon on the top right of the page, and select ‘Sync this OneDrive’.
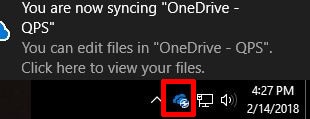
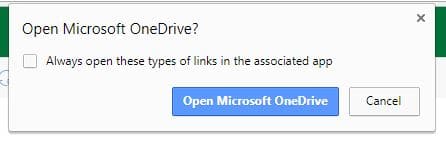
4. At this point, you’ll receive a prompt to open the OneDrive sync client. Click ‘Open Microsoft OneDrive’.
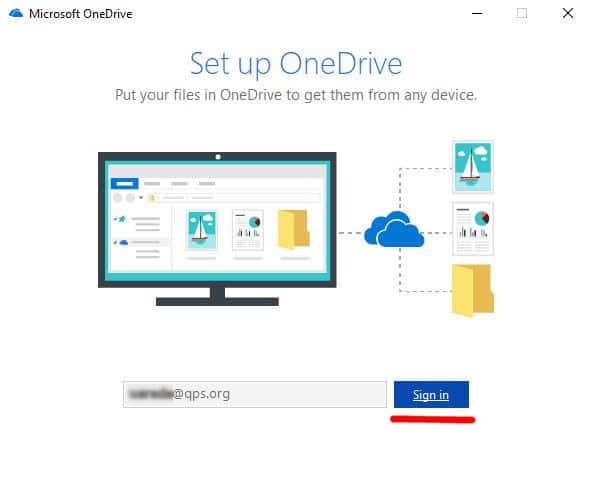
5. Enter your email address if not already present, click ‘Sign In’ and then select ‘Work or School’.
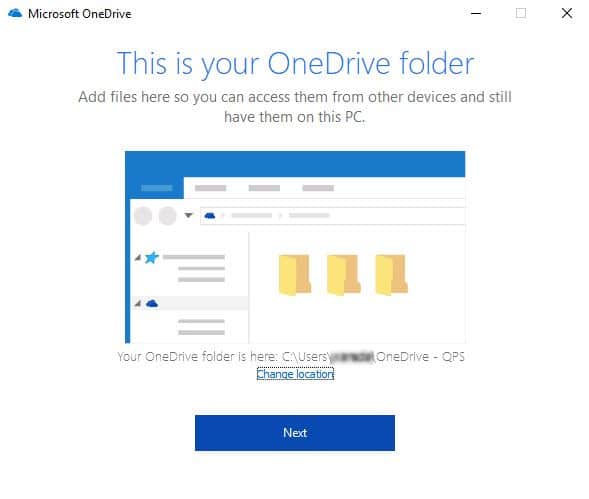
6. On the following screen, click ‘Next’. You’ll then be presented with the option to sync all OneDrive files or only certain folders. Most users will select ‘Sync all files’. After making your selection, click ‘Next’.
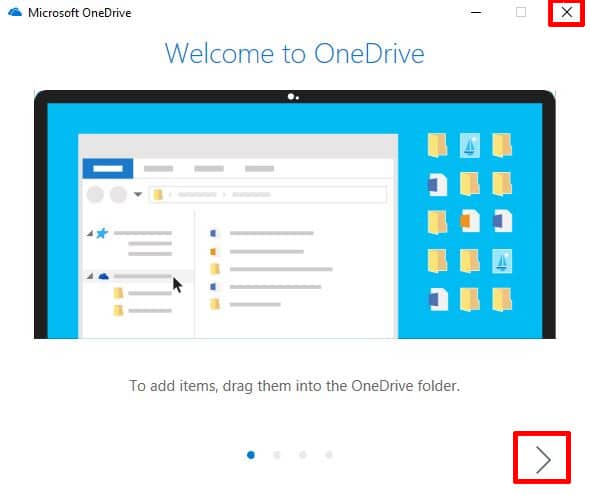
7. The next screen will give you the option to view a few quick tips on using OneDrive Sync. You can view the tips by clicking the arrow or you can simply close the window using the ‘X’ at the top.
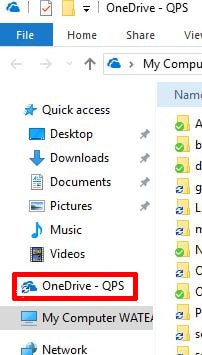
8. That’s it! The OneDrive folder is accessible on the left side of any Windows folder or on the Windows task bar.